

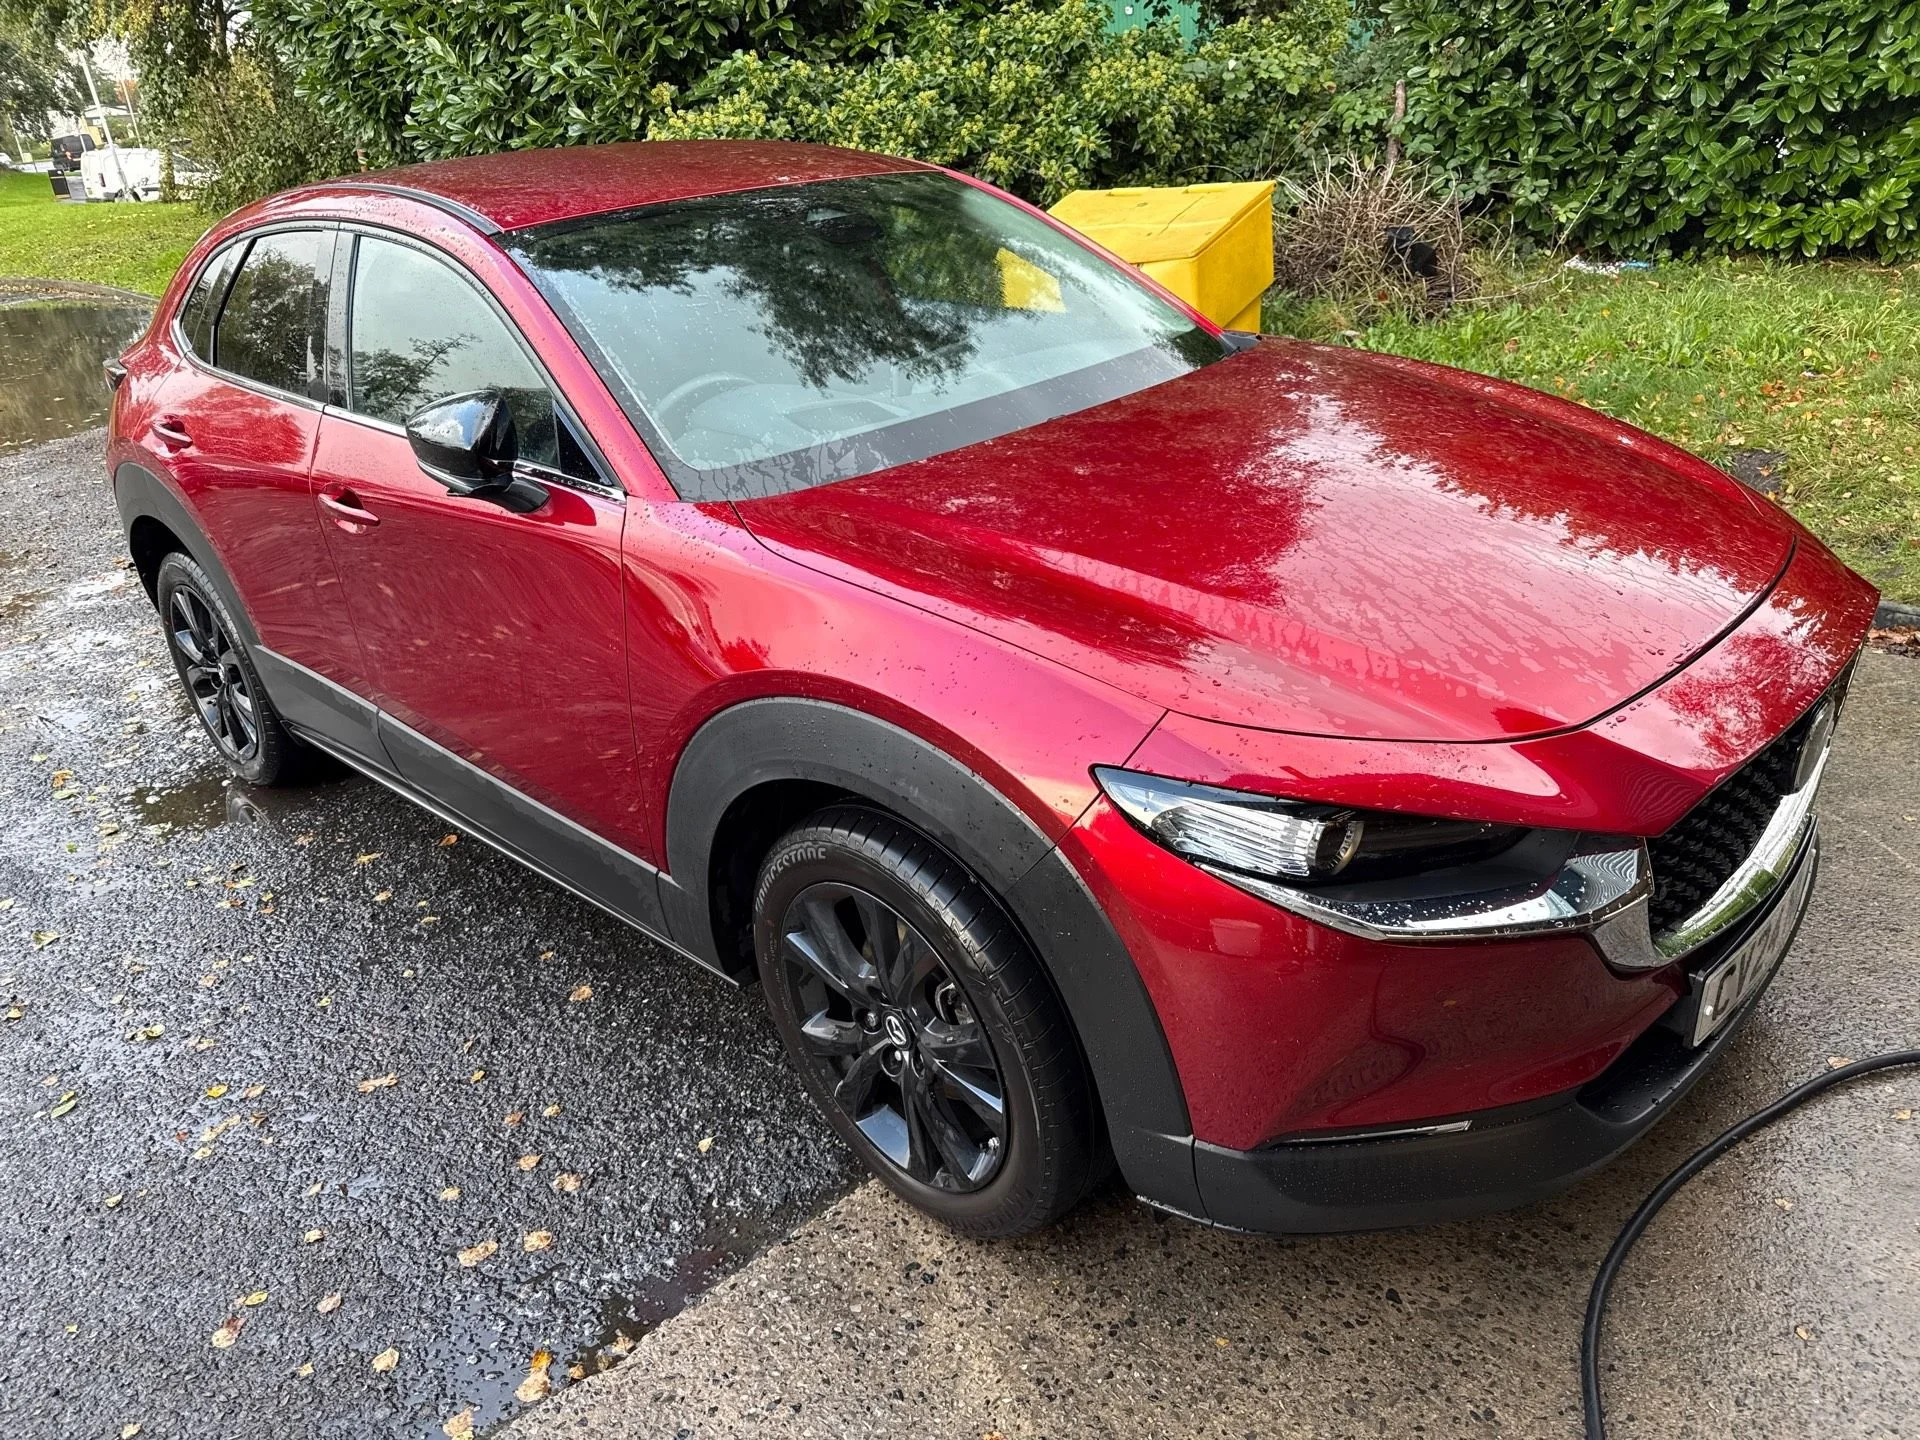
Bumper Repair Explained: From Scuffs to Structural Damage
Modern car bumpers are designed to absorb impact and protect the rest of your vehicle — but that also means they’re often the first part to get damaged. From supermarket car parks to low-speed collisions, bumper damage is one of the most common reasons drivers visit a bodyshop.
In this guide, we’ll walk you through the full bumper repair process, what affects repairability, and how professionals ensure a safe, factory-correct finish.
What Types of Bumper Damage Can Be Repaired?
Not all bumper damage looks serious — but appearances can be misleading. Common bumper issues include:
Light scuffs and scratches
Cracked or split plastic
Dents and distortion
Broken mounting tabs or fixings
Damage hiding behind the bumper (absorbers, brackets, sensors)
Modern bumpers are usually made from flexible plastics and house critical technology like parking sensors, radar units, and ADAS components — which is why correct repair methods matter.
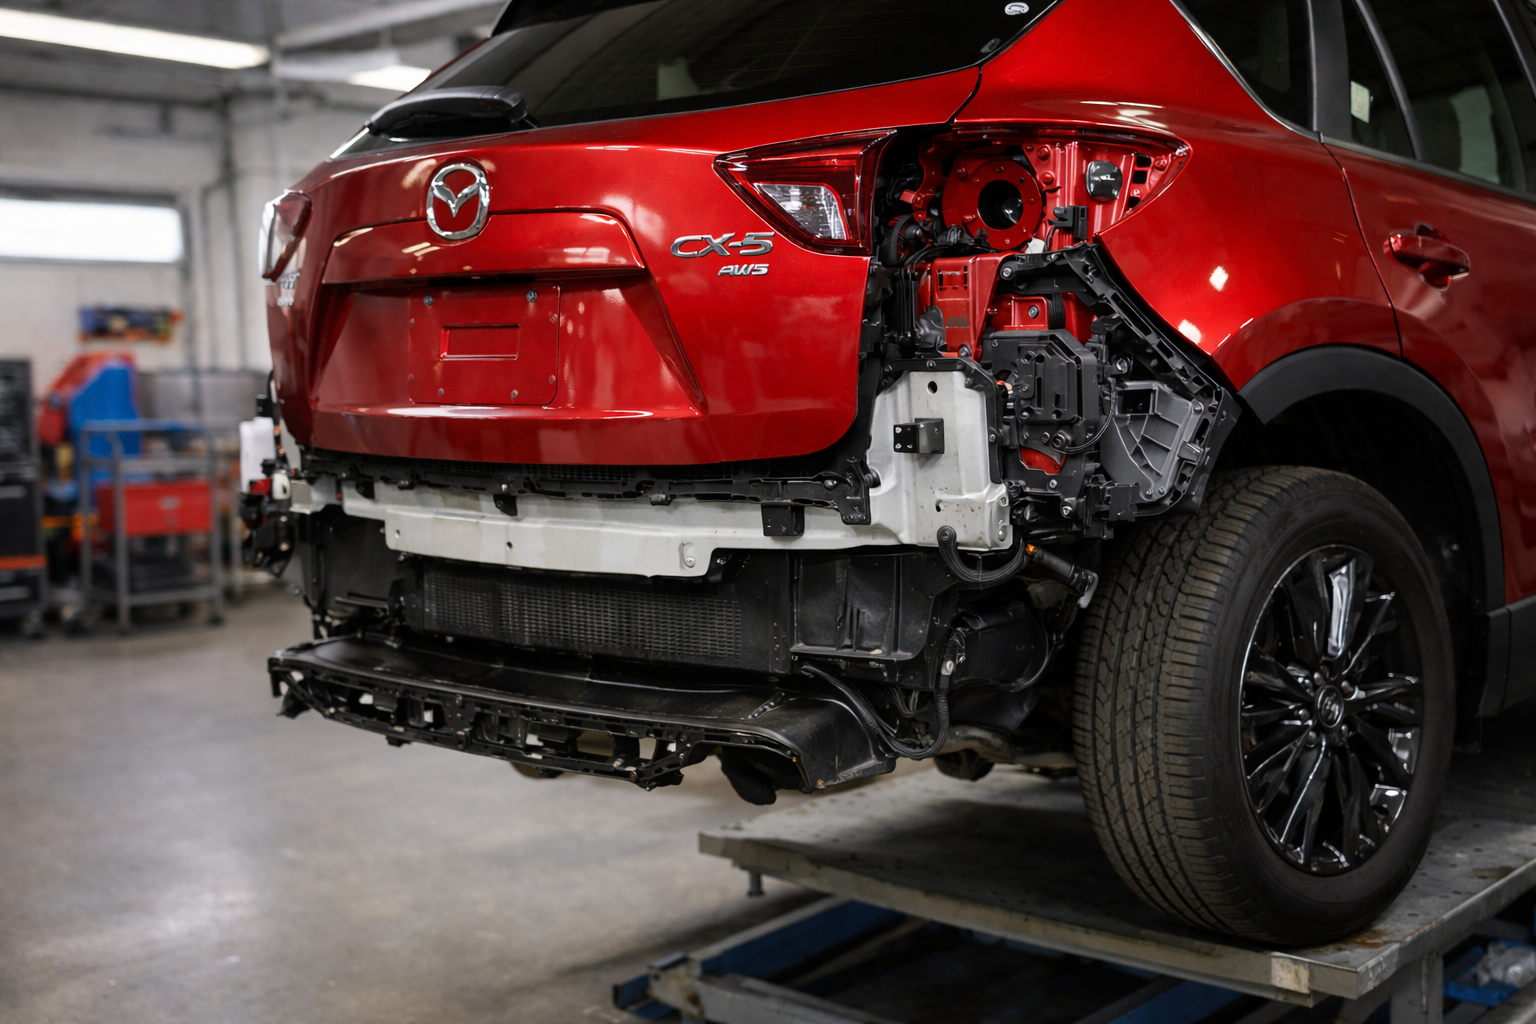
1. Initial Inspection & Damage Assessment
The process begins with a thorough inspection. This isn’t just about what you can see — technicians check for hidden damage behind the bumper and assess whether the bumper can be safely repaired or needs replacing.
Factors considered include:
Structural integrity of the plastic
Location of damage (corners, mounting points, sensor areas)
Manufacturer repair guidelines
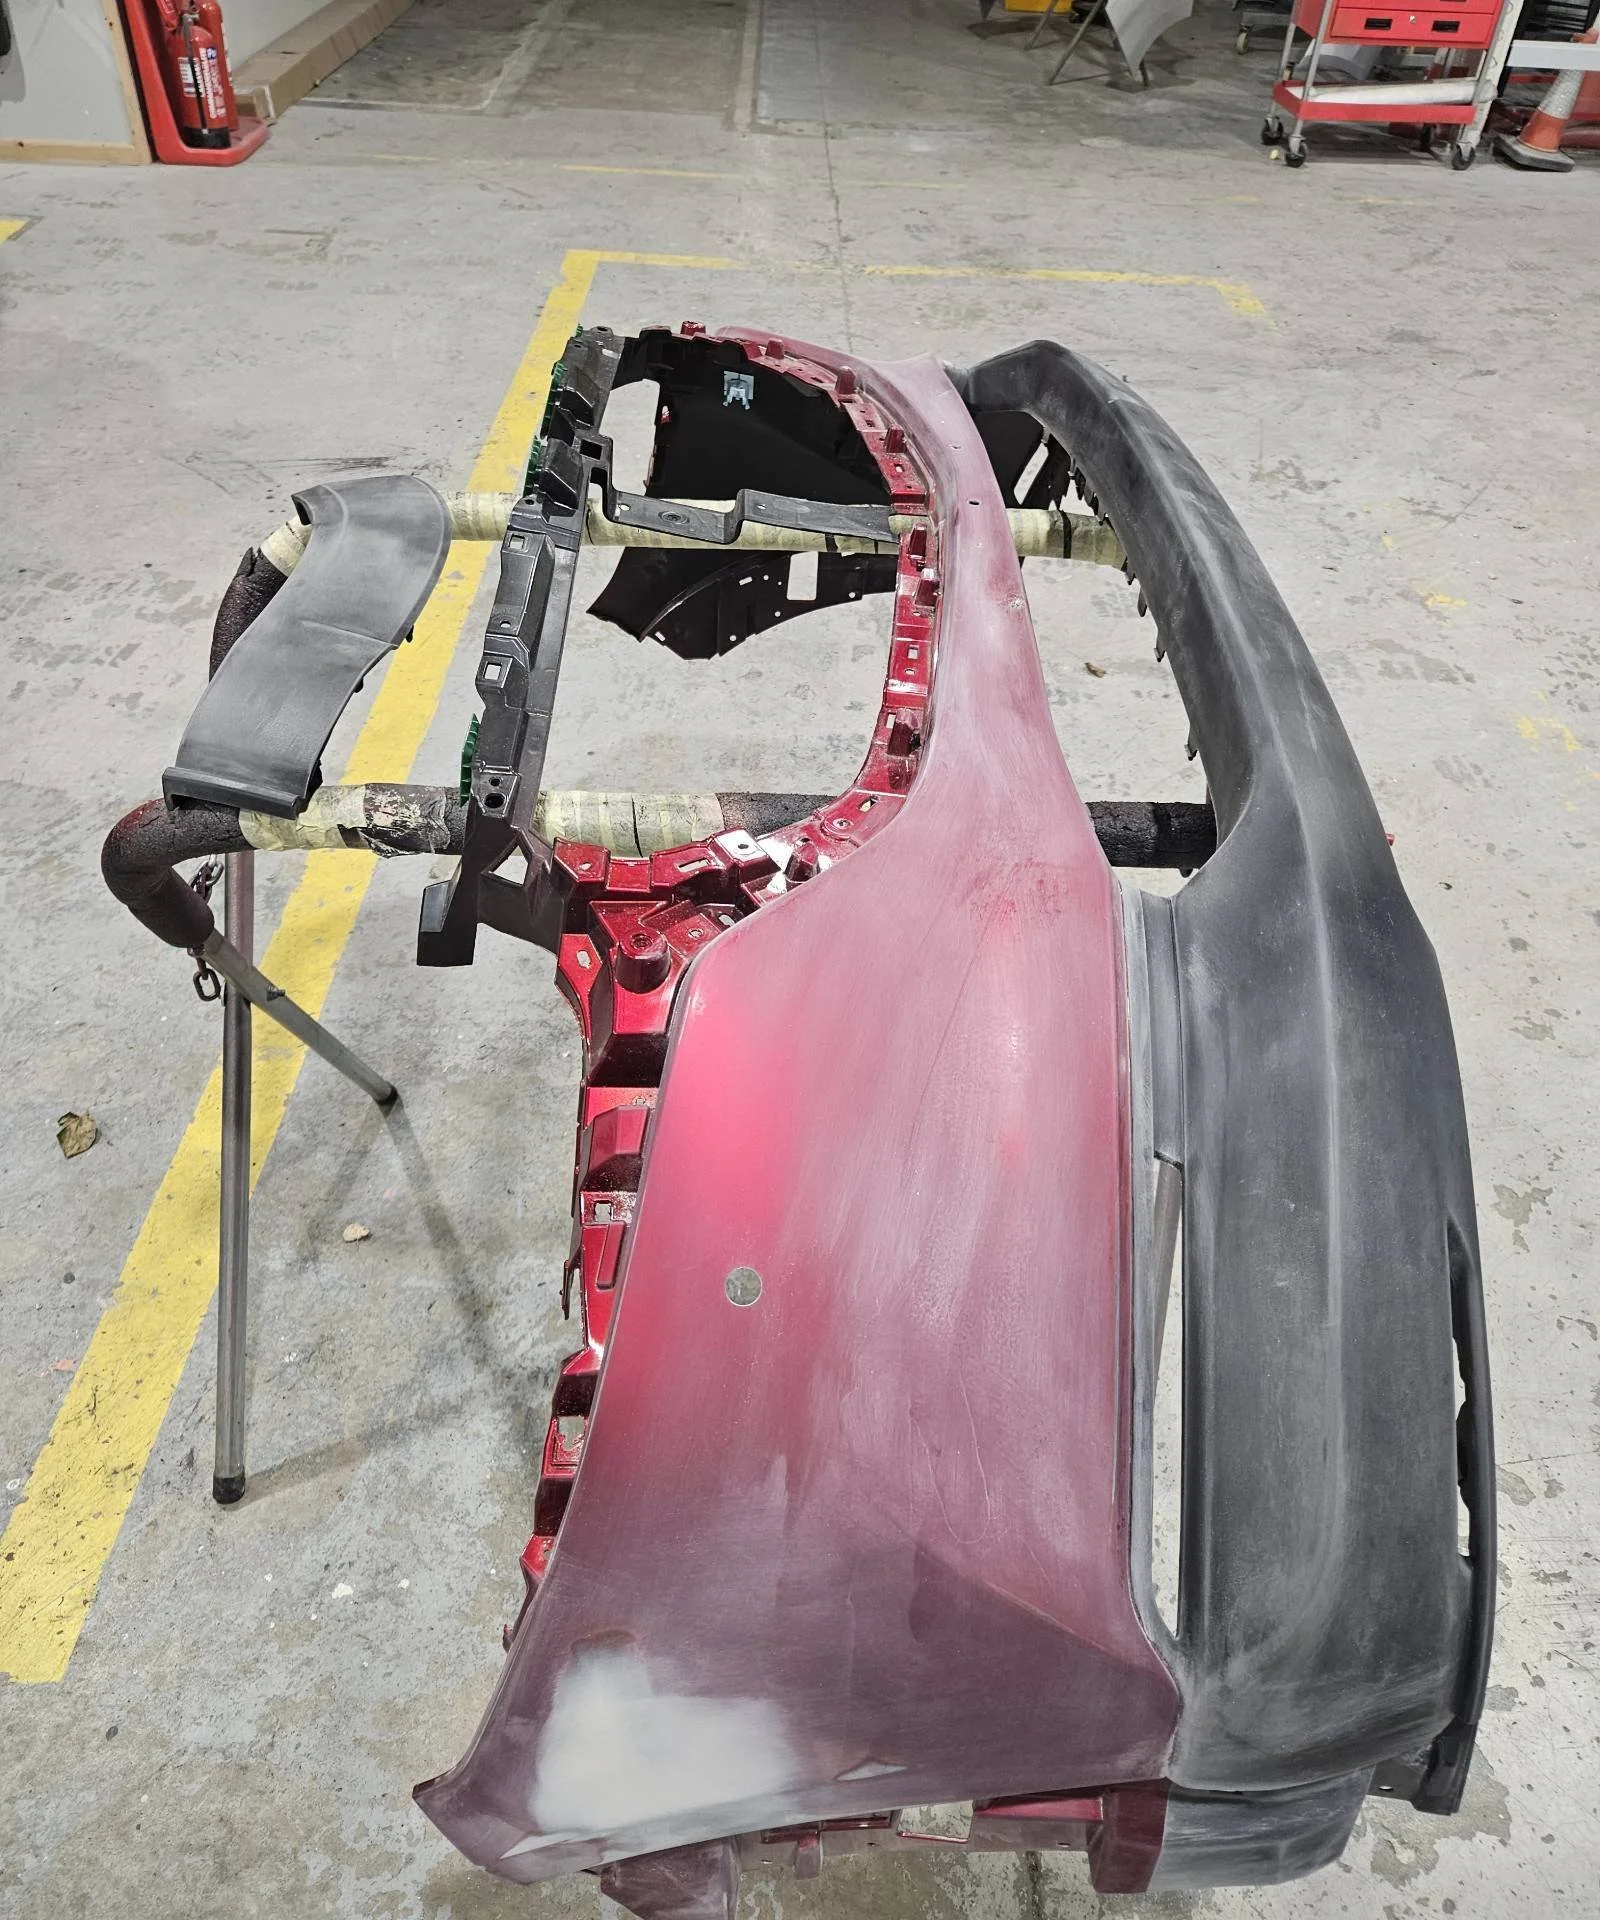
2. Bumper Removal
In most cases, the bumper is removed from the vehicle. This allows technicians to:
Inspect impact absorbers and brackets
Avoid paint edges and masking lines
Protect sensors, grilles, trims, and wiring
Removing the bumper ensures a higher-quality, longer-lasting repair.
3. Plastic Repair & Reshaping
If the bumper is repairable, specialist techniques are used:
Plastic welding or bonding
Reinforcement of cracked areas
Heat reshaping for distorted sections
This step restores the bumper’s strength, not just its appearance.
4. Surface Preparation
Once structurally sound, the bumper is prepared for paint:
Sanding to remove damage and key the surface
Flexible fillers applied where needed
Primer used to ensure adhesion and durability
This stage is critical — poor preparation is the number one cause of peeling or visible repair lines.
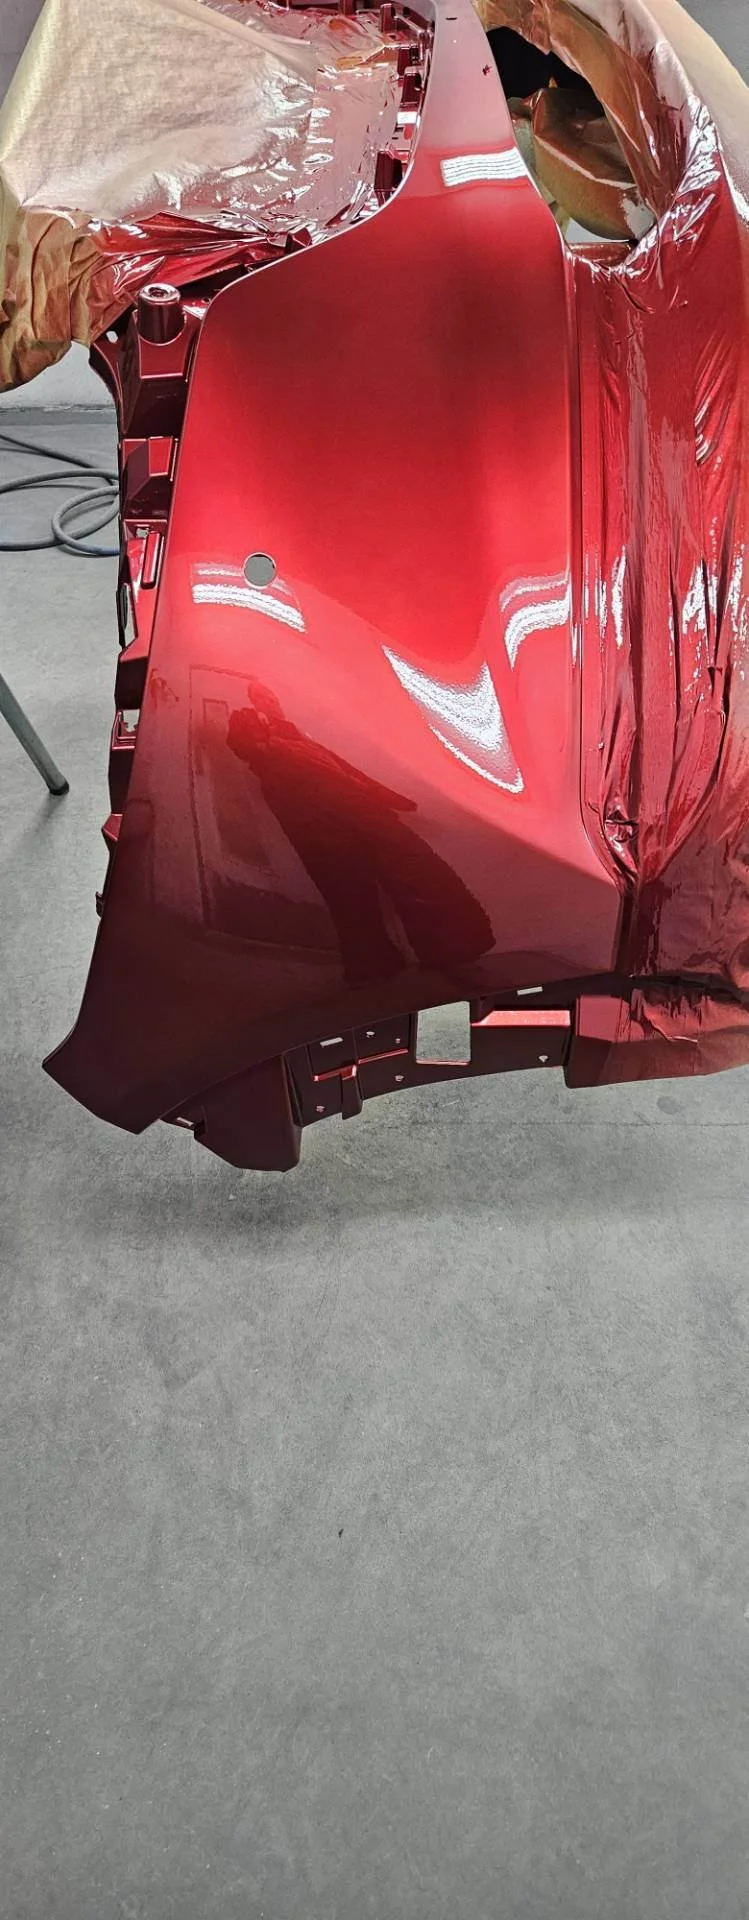
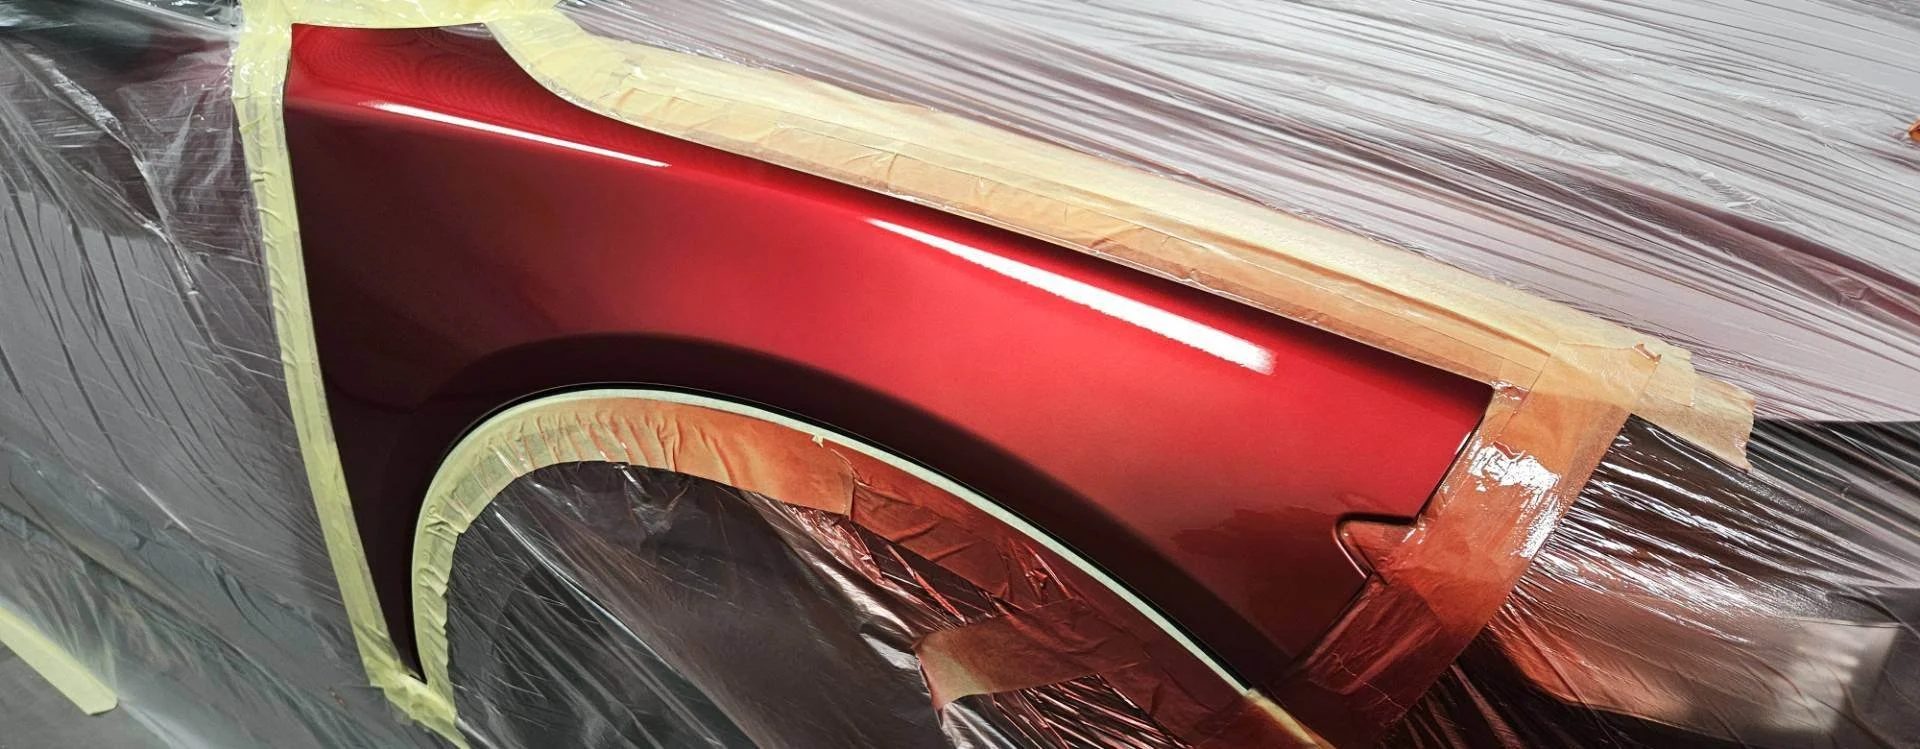
5. Colour Matching & Painting
Using computerised colour-matching systems, paint is mixed to match your vehicle precisely — even accounting for age and fade.
The bumper is then painted in a controlled spray booth, ensuring:
Even coverage
Correct texture
Factory-level finish
6. Refit, Calibration & Quality Checks
After curing, the bumper is refitted and aligned correctly. If your vehicle has parking sensors, cameras, or radar systems, these are checked and recalibrated if required.
A final quality inspection ensures:
Panel gaps are correct
Sensors function properly
The repair is visually flawless
Repair vs Replacement: Which Is Better?
A professional repair is often:
More cost-effective
Faster
Better for the environment
However, if a bumper is too damaged or cannot be repaired to manufacturer standards, replacement may be the safer option. A reputable bodyshop will always advise honestly — not default to the most expensive route.
Why Professional Bumper Repairs Matter
A bumper isn’t just cosmetic. Poor repairs can affect:
Vehicle safety
ADAS functionality
Resale value
Insurance approval
Choosing a properly equipped, accredited bodyshop ensures your car is repaired correctly, not just quickly.
Book an Appointment
If your bumper has been scuffed, cracked, or damaged in an accident — even a minor one — it’s worth having it professionally assessed.
👉 Book an appointment to have your bumper inspected and repaired to the highest standard.